Steam Locomotive, Page 2(Back to Page 1) 3/26/2 The next thing to do is to get some practice on machining parts. Let's start with the main driving wheels, also known as "drivers"
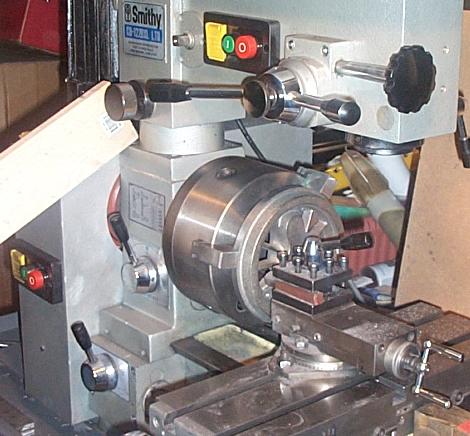
Image 3. Turning the Driving Wheels Wheels are round, and must be turned on a lathe to precise tolerances. Driving wheels also have a huge counterbalance, which tends to make the machine shake. One solution is to prop the machine up with a large stick

Image 4. Starting to Machine Counterbalance The engine I am building is a "Mikado", the name given to a locomotive with a wheel configuration of 2-8-2. (2 pilot wheels, 8 drivers, and 2 trailing wheels.) So there are a total of 12 wheels to machine
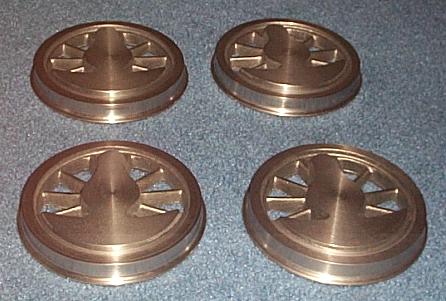
Image 5: Four of the 8 Drivers Completed Now see, if I had decided to build a 0-4-0, I would be done with the wheels. But, finally I get all 8 drivers machined. Then it's on to the 4 main axles, and the 8 bearing blocks. The axles are not part of the "kit". You have to make them from steel rod. The drawings call for 1.25" diameter axles, but these are only 1.0"
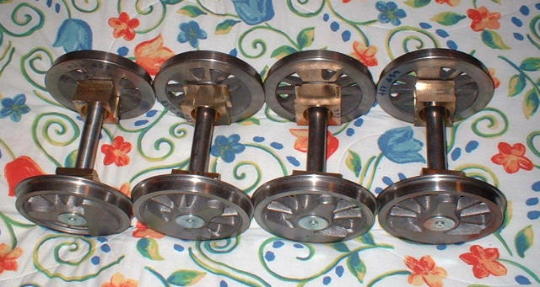
Image 6: Drivers, Axles and Bearings The bearing blocks ordinarily come with the kit unmachined and are made of cast iron. Those that you see here are alloy 954 aluminum-bronze, an excellent bearing material. These were cut from a pair of solid ingots. These actually cost less than the stock bearing blocks. The bearings themselves are not visible in the photo, but are a stock ball bearing purchased from an industrial supply house
(On to Page 3) |