90 Ton Mikado, Page 25(Back to Page 24)
1/30/8 Pilot and Oiler Cam
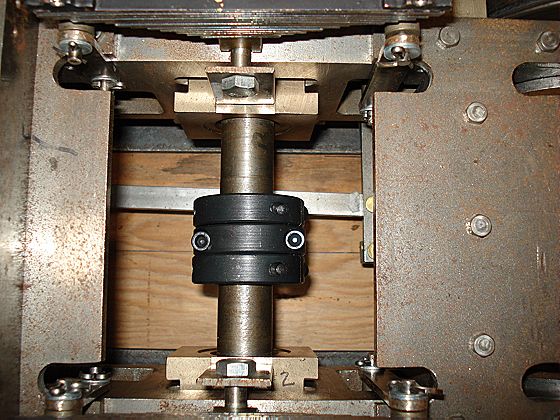
Image 148 -- Oiler Cam mounted on axle You can't see the shiney new aluminum bronze cam, but it's there. The outer two shaft collars clamp the cam to the axle. The center collar has been machined out so that it turns easily on the cam. It will be the rod end for the oil pump. 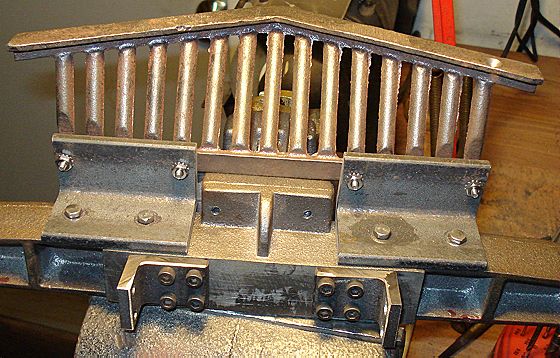
Image 149 -- Brackets to mount pilot beam When it comes to attaching things to the pilot beam - once again - you are on your own. These two angle brackets should do the job. (As you will see later on, I end up replacing this whole setup.) 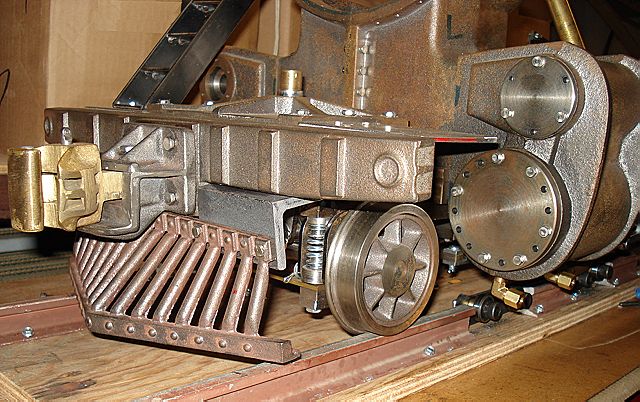
Image 150 -- Pilot and Front Coupler ready to go There we go. The front of the engine is complete. (more or less) One can always add details such as steps, grabs, braces, etc later. (Notice how the pilot mounting angles tilt the pilot downward. Later in life this will prove to be a big problem and will need a better solution.)
2/10/8 Piston Ring Slots
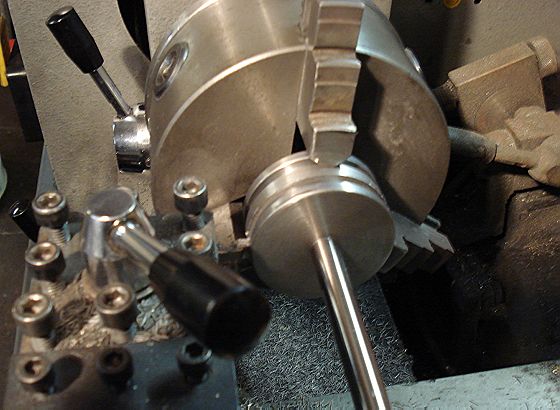
Image 151 -- Turning the Ring Slots in the Pistons I have been running my locomotive on air with no rings on the pistons. No problem, but the engine will be more efficient with the cylinders properly sealed. 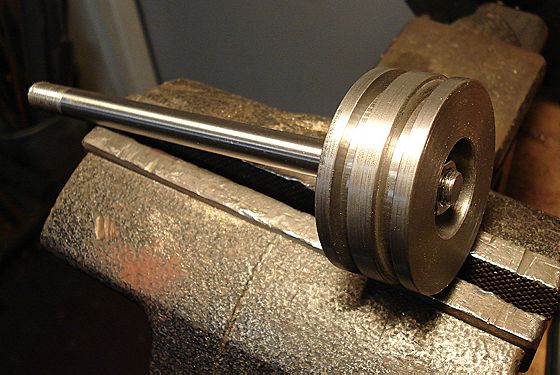
Image 152 -- Completed Piston The same goes for the piston rod packing. That's another item on the list of things to do. Also I am having problems with poor cylinder head seals. I will probably fix that with RTV silicone sealer. 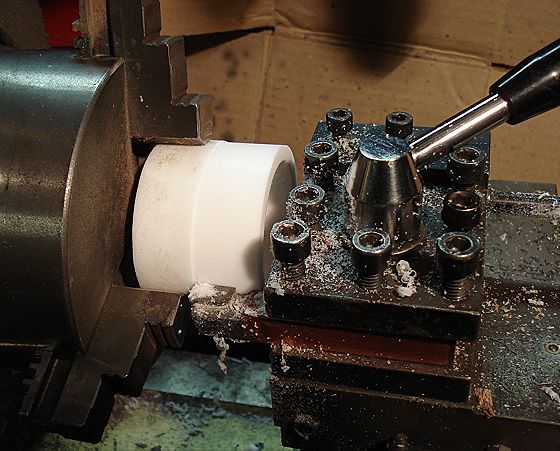
Image 153 -- Machining New Teflon Rings I have decided to try teflon rings. I'm afraid the bearing bronze rings will have too much drag. I had to make a wood plug to put inside the teflon tube to keep the lathe chuck from deforming it.
2/14/8 Piston Rod Gland Hats + Oilers
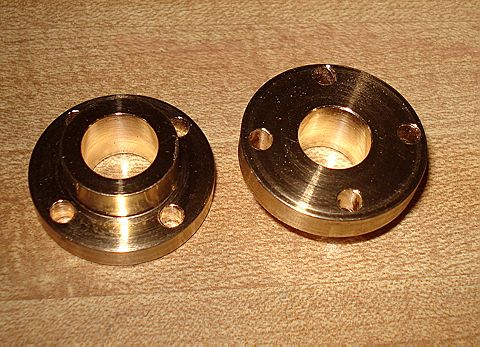
Image 154 -- Piston Rod Glands These beauties are made out of alloy 954 aluminum bronze. Nice stuff, but man is it hard. Their job is to compress the packing string around the piston rods for a steam-tight seal while allowing the rod to move. You'll see more about these later.
2/20/8 Oiler Piping
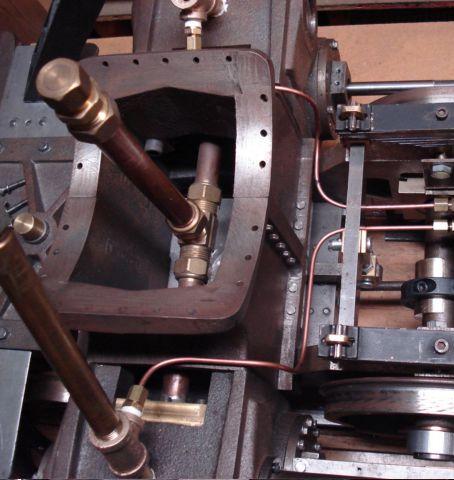
Image 156 -- Lubricator Piping A reducing Tee has been added to each steam cylinder inlet for injecting oil into the cylinders. Copper 1/8" tubing connects the Tees to the mechanical lubricator, which has been mounted to the #1-#2 frame plate. I am in the process of moving the pump cam and rod to the #1 axle. (Onward to Page 26) |