PSCC Steel Boxcars
IPRR #301,302,303
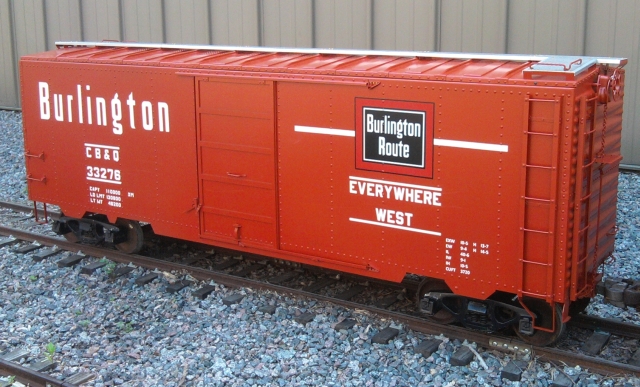 This photo was sent to us by Precision Steel Car Company of Hamilton, Ohio (near Cincinnati) when they first introduced their latest new kit.
Go here
to see more photos of PSCC's Burlington boxcar. 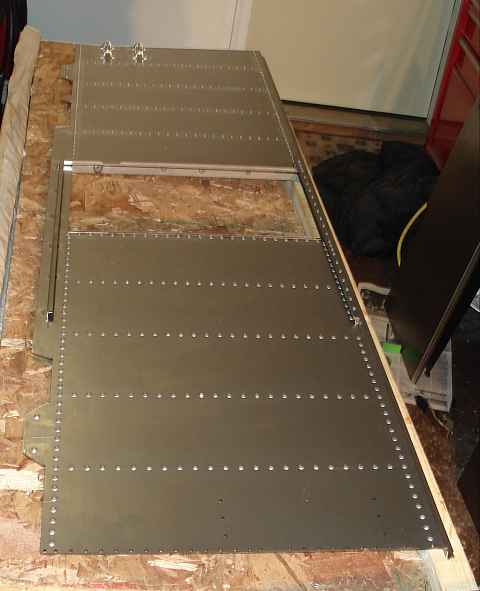 We start by installing the million rivets on the car sides (actually only about 1200). It would have gone faster if we didn't have to make the 1/8" long rivets from longer ones. One of the door tracks and the door opening stiffeners are welded on. The upper tracks are riveted to the sides. Notice once again that we are using the crate the kit came in for a work bench. 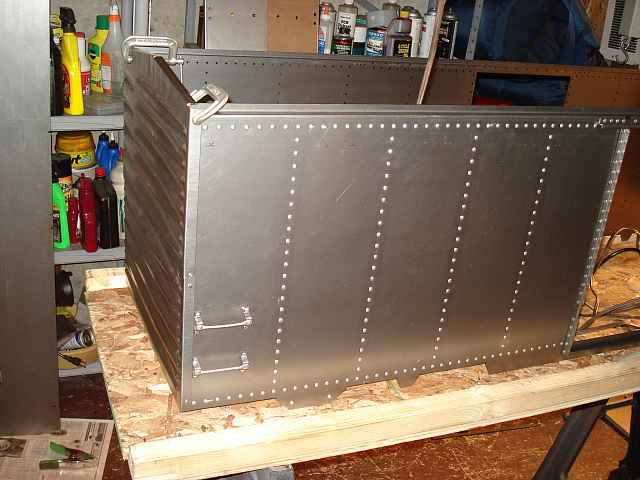 The boxcar ends are made with two stamped sheets and a backing plate. These attach to the sides with more (slightly longer) rivets. Here I have the parts held in place with some screws to assist in drilling the rivet holes in the stamped ends. 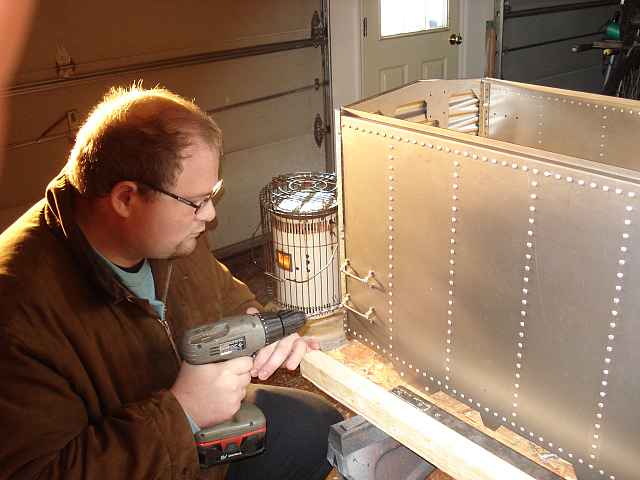 After drilling from the inside out, the holes in the stamping must be de-burred so the rivets will sit flat. Here, Doug is de-burring the holes. You can see one of the backing plates on the inside of the car end. I had installed the grabs earlier. 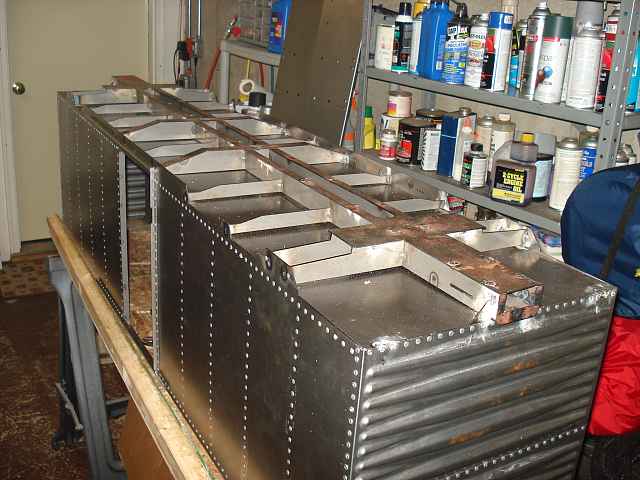 Then the holes are riveted. The frame was built a year ago when Doug was here for Christmas. Here it has been welded in place, but the floor has not yet been welded to the frame. That's the next step. 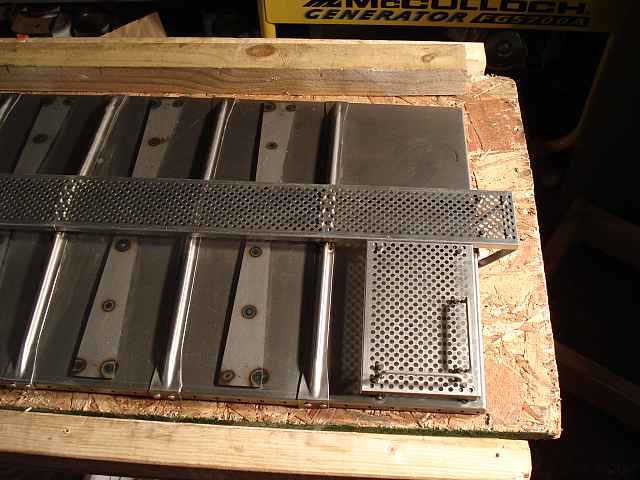 The roof is a single sheet of steel, punched and formed. The "bowties" are supposed to look like they were stamped but are actually separate pieces that weld on. I guess they look OK. Then there are eleven formed roof ribs that are glued and riveted on. The walkway supports are welded on and the walkway pieces bolted onto the supports. I still have to add 160 fake rivets around the perimeter to complete the job.
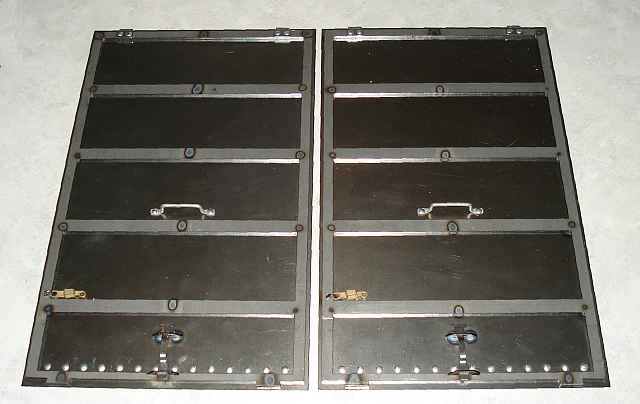 Boxcar Doors Precision Steel Car Co writes: "The door in the kit is a "Superior" 5 panel door and [they are] still in business. The other stamped door we sell separately is a Youngstown door and will fit on the car but takes a little kit bashing because the holes on the backer plate aren't in the right place. [The] company was in Youngstown OH and finally went bankrupt in 2012." I learned to grind off the welds and rivets flush on the back side of the doors so that nothing can interfere with the door stiffeners and rivets on the car sides. But if you grind off the backs of the rivets, they will fall out - unless you countersink the rivet holes on the back side first. There really wasn't much thought that went into insuring that the doors operate smoothly. It is up to the kit builder to decide how to do that. Door Closers 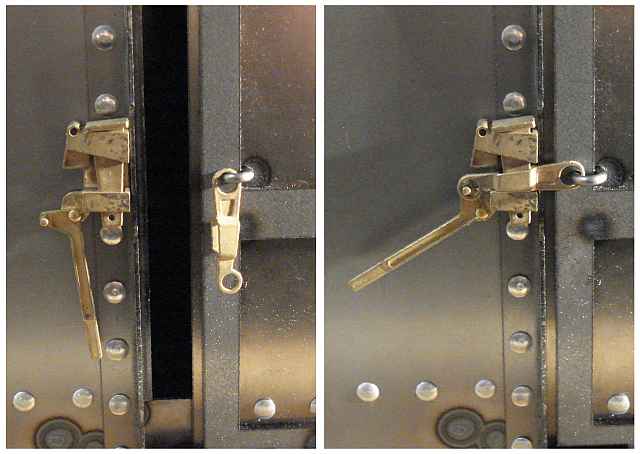
By default, the handles supplied by Precision Steel Car Company do not operate. They look great, but they are dummies. The good news is - they are really very easy to modify to make the handles work. Just drill the pinhole first. Then cut the handle off the body using a razor saw. File to clean up the cut surfaces. Countersink the back of the pin hole in the latch body. Insert a brass pin through the handle and then the body and cut it off flush with the back of the latch body. Fill the countersink around the pin with solder and file it flat. Install the latch as usual. Roof and Wall Braces
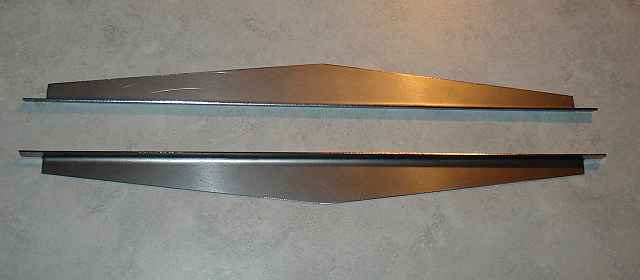
The kit comes with these two braces which are supposed to keep the walls spaced properly and support the roof in the center of the car. But unfortunately they don't come bent like you see in this photo so they are not strong enough to do their intented task. I had this problem with my caboose also.
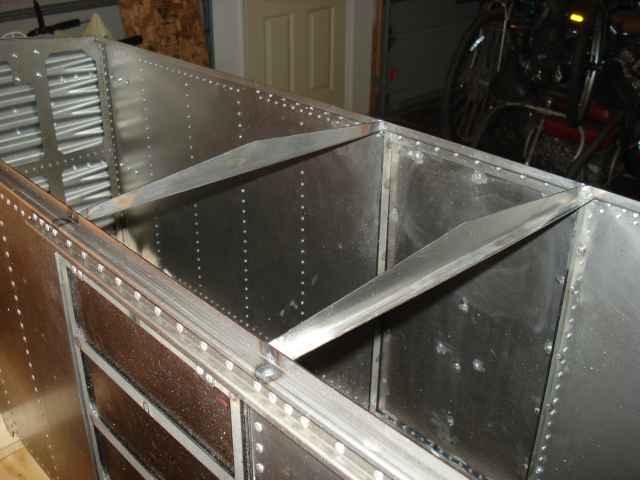
So I added the bend. Now the braces are more than strong enough and I didn't need to add any material to complete the job. Here the braces have been welded in place. This assembly is very strong. Roof Dogs
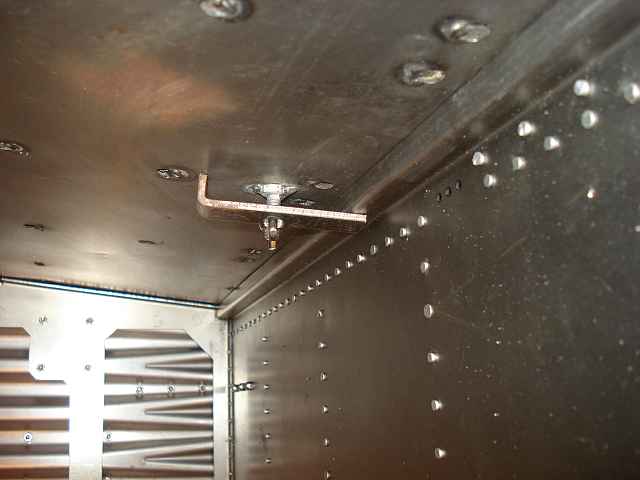
Another nice deviation from the kit was the addition of 6 of these Roof Dogs. They hold the roof tightly onto the boxcar walls to keep it from rattling - and they can easily be loosened, allowing the roof to be removed for painting, storage, or whatever. Just weld 6 studs under the bowties, add these dogs and a wing nut per stud and you are done.
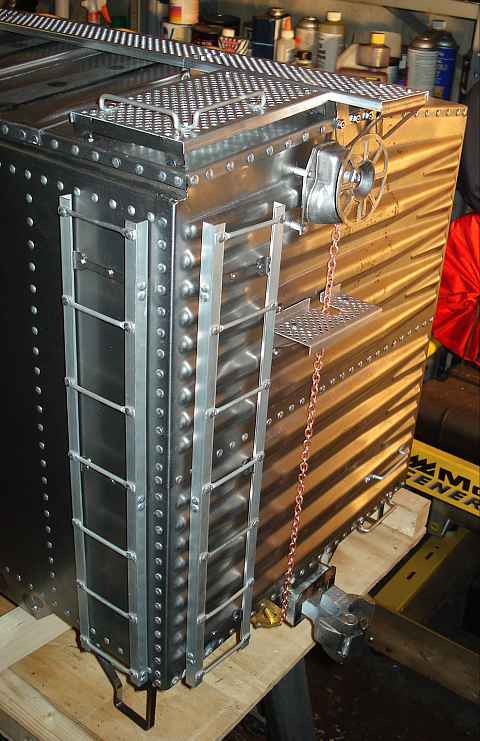
Here's the "B" (as in "Brakewheel") end of the car with it's ladders, roof walks, brakewheel, chain, bellcrank, platform, step, and grabs. This pretty much finishes the job.
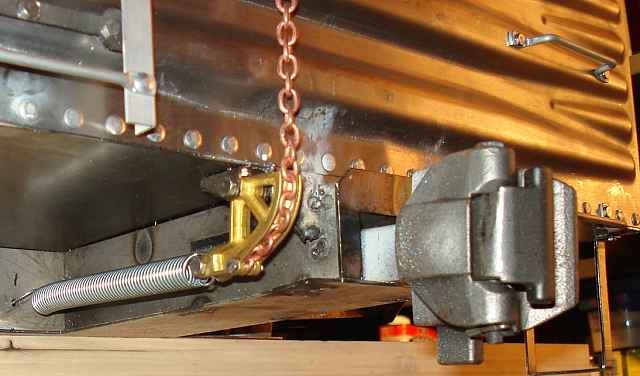
I added a spring to keep the chain under tension. It could have been smaller but I used what I had. April 24, 2014 -- Roof Ribs on the next two boxcars.
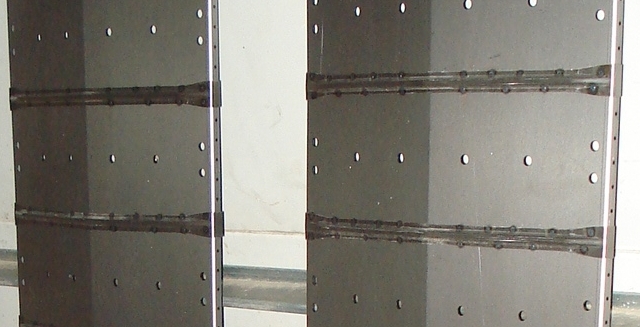
For my birthday (60) my youngest son, Kenny bought me a spot welder. So I used it to put the roof ribs on the roofs of Boxcars #2 and #3. I already did the epoxy thing like the instructions say to do on boxcar #1 and that is NOT the way to go.
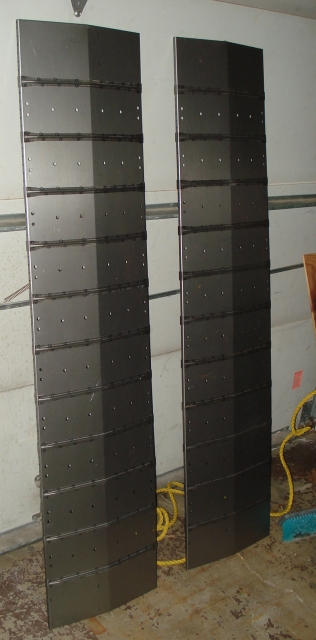
But this is! It's fast, rugged, and even looks good. There's another tool I wish I had years ago. I also used it to weld the tops of the stamped ends to their backing plates - another operation that instructions say to glue. No more glue. I also spot welded the bowties onto the last two boxcar roofs instead of plug welding them like I did per instructions on the first roof. This saves a lot of time and prevents the bowties from getting too hot and relaxing their bends. Too late for a photo. I already primed all three boxcar roofs. On to Painting and Lettering
|