Vanderbilt Tender for Mikado
Page 2
|
Jump to Page 3 Visit Powered Tender Truck page 8/21/9 - Welding on the Top Walkway Brackets
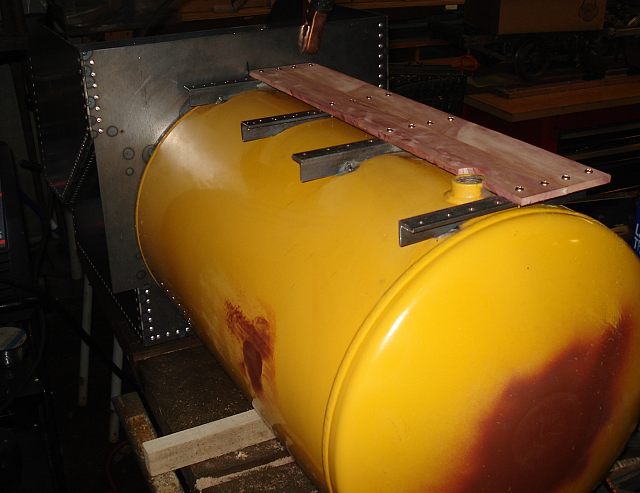
- Image 9 - Walkway support welded on
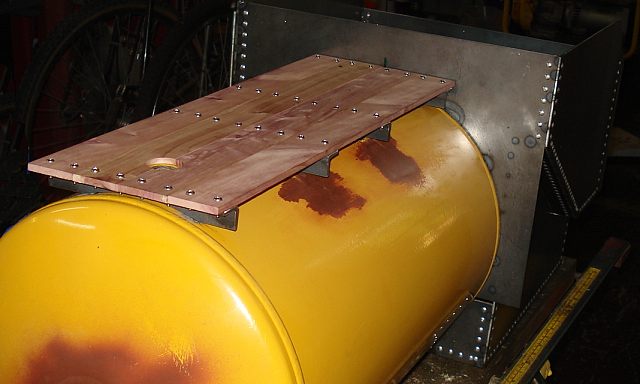
- Image 9 - Completed Walkway Attached Shown here is the completed walkway. This is aromatic red cedar. Wonderful stuff to cut and drill. Too bad this is all going to be painted black.
11/21/9 - The Front Porch
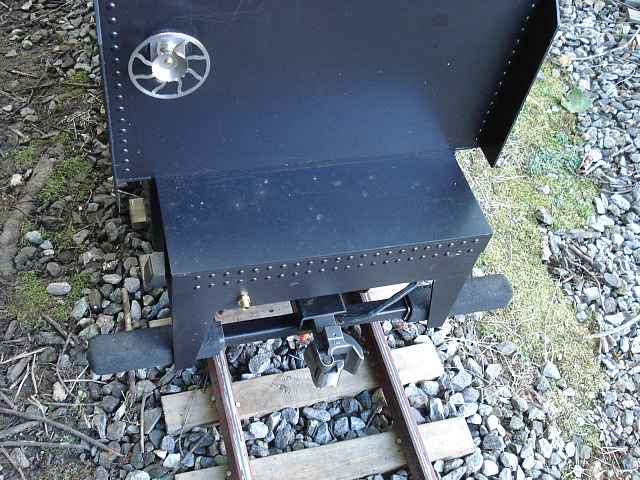 Image 10 - Front Porch, Coupler, and Foot Supports
This is the floor of the tender between the locomotive and the tender chute. It contains the steps and grabs on both sides for the crew to climb aboard. Also notice the foot supports used to hold up the engineer's feet. These slide in and out for easy storage. The coupler is only used when moving the tender in a consist. Ordinarily, a solid drawbar couples the tender to the locomotive. Note: Brakewheel was added at a later date. 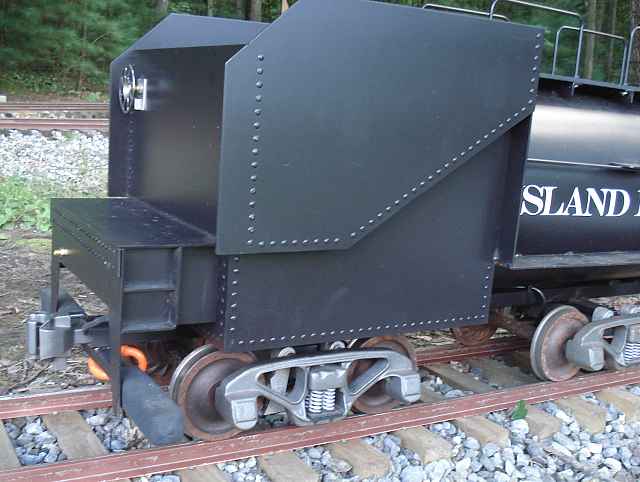 Image 11 - Front Steps
Notice how the coal bunker is oversized on my tender. This is a departure from prototype practice where the tank extends all the way forward on the underside. This gives me lots of storage for fuel and a battery.
11/30/9 - More Details
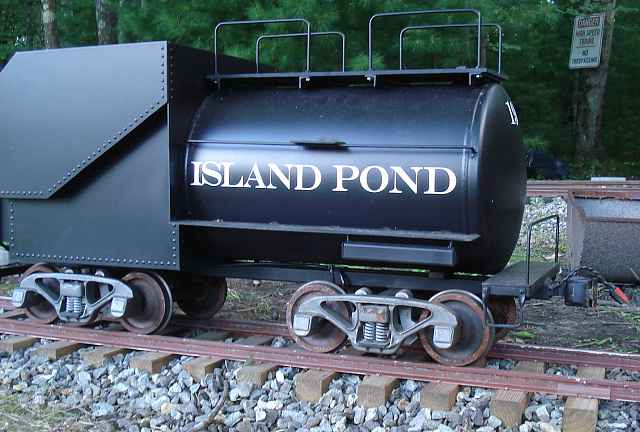 Image 12 - Side and Rear Details
These were made using leftover 1" square tubing from another project. Plastic tube ends complete the ends of the toolboxes. Drawbar/Coupler Tube The drawbar tube runs the entire length of the tender and is actually the tender's frame. The chute and tank weld to it via some weld brackets. It also holds the bolster plates and the trucks in place. Note: Brakes were added at a later date.
Back to Page 1 Visit Powered Tender Truck page
|